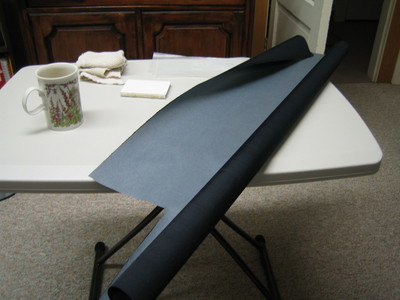
Cover material
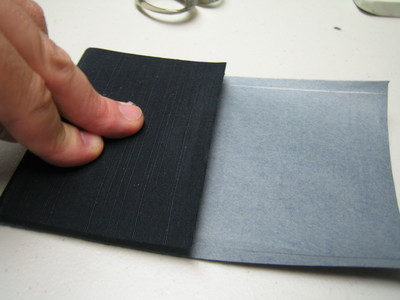
Book cover material is a fabric with thin paper backing. The paper makes it easy to glue the material to the boards. It is also nice for drawing the placement outlines.
Cut out the cover in one piece longer than required to wrap around the book. Allow 4 board thicknesses along the top and bottom edges for wrapping around the board.
Position the book on the cover material and allow 4 board thicknesses along the front edge. Wrap the cloth tightly around and cut it off allowing 4 board thicknesses at the back edge.
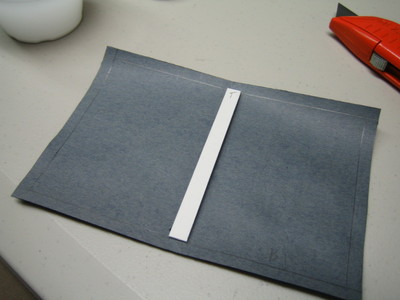
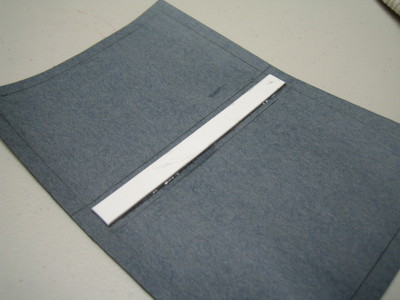
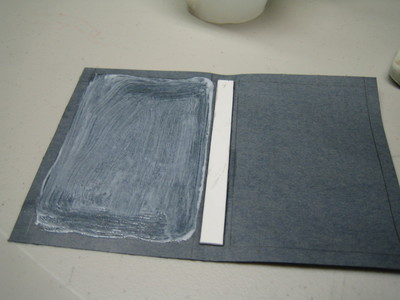
Find the center of the cover material and mark the location for the backbone board.
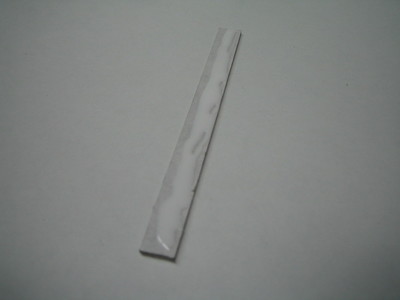
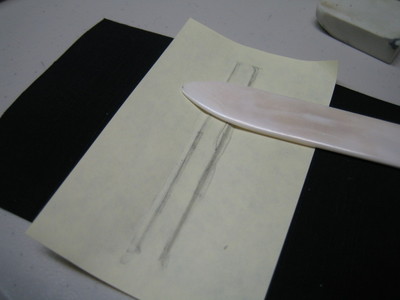
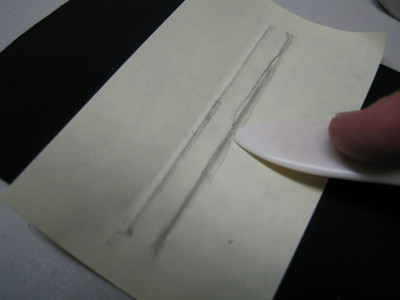
Apply glue to the backbone, smooth off excess glue and position it on the cover. Turn the cover over and use a cover sheet to rub down the joint until it is dry.


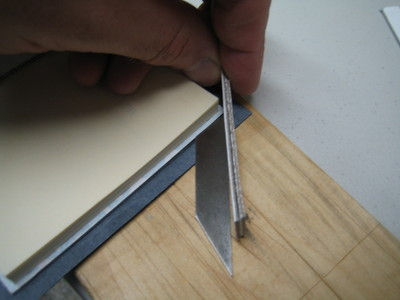
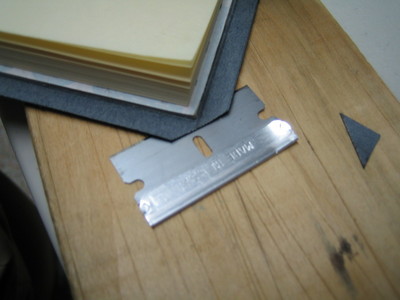
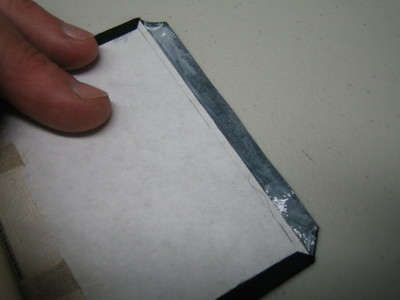
Each corner is cut off at a 45 degree angle. The cut is offset from the corner by two board thicknesses.
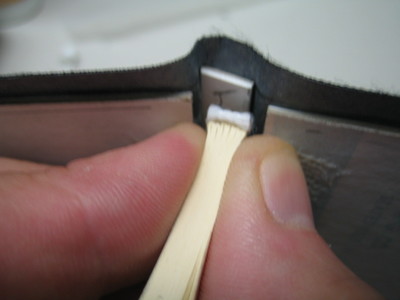
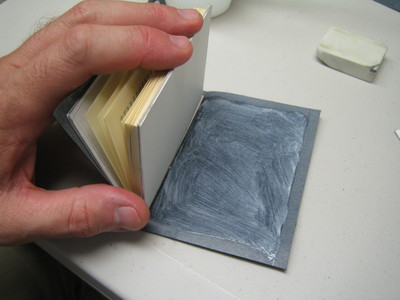
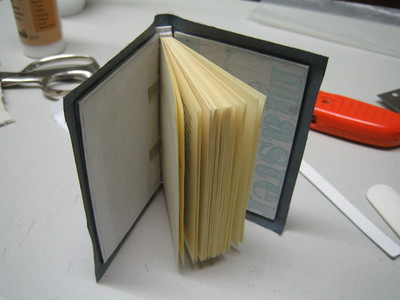
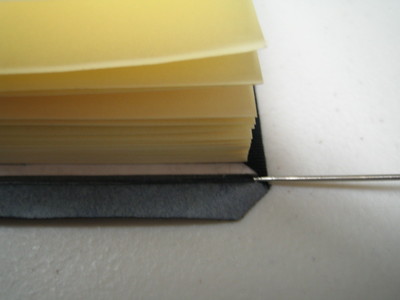
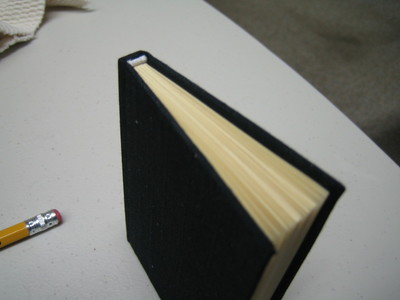
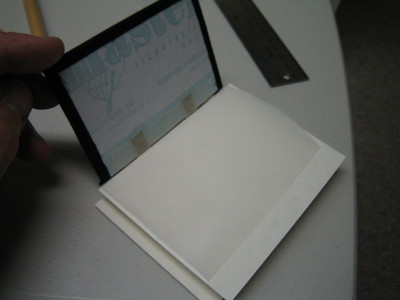
The photo above shows how you can pull the book block away from the backbone. This must be done in the next step when the top edge of the cover is glued and wrapped over the edge. This is a tricky step when using PVA that dries very fast. You should practice the moves required to fold over the edge and tuck it in behind the block before doing it with glue.
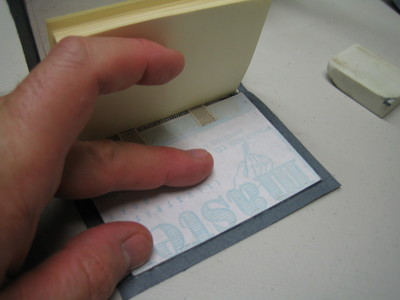
I use a small clean screwdriver to press the cloth into place inside the spine.
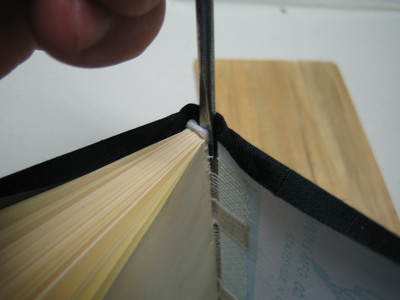
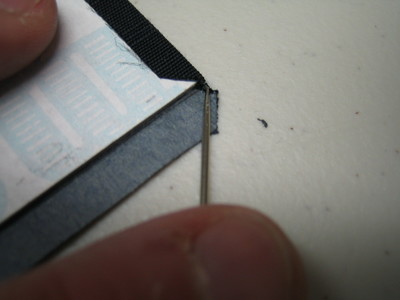
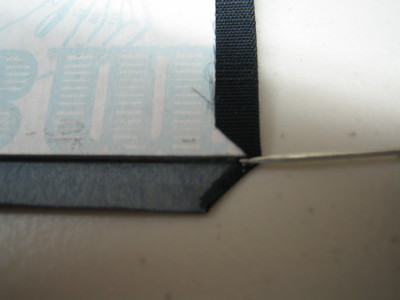
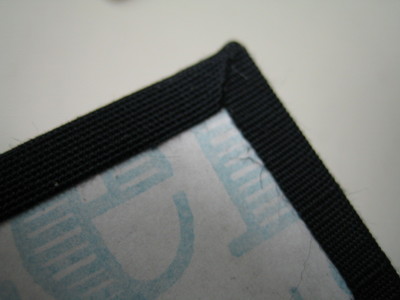
Next we make the hems at each corner. In each step, a tiny amount of glue is applied and the hem is folded as show using the side of the needle. Press and hold the fold until the glue holds between each step.
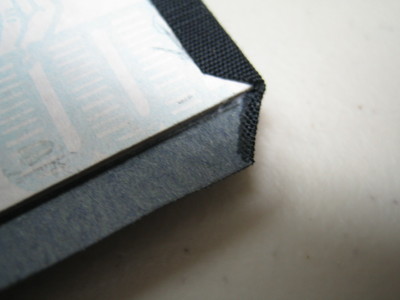
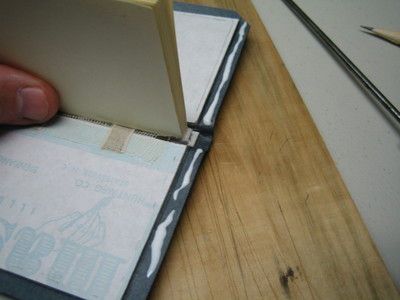
Now you are ready to glue and fold over the outer edge. If you measured and formed the miters and hems accurately, the joint will come together exactly bisecting the corner.
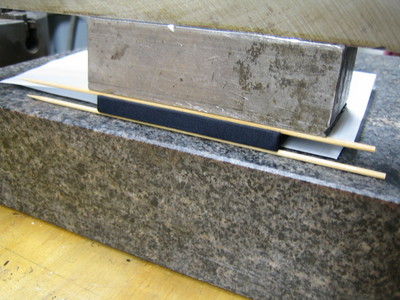
There is quite a bit of wet glue on the boards and they will curl if not pressed and dried completely.
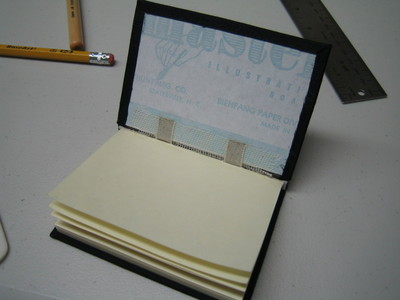
Use wax paper against the boards and a thin sheet of stiff material to keep the tapes from indenting the book block.
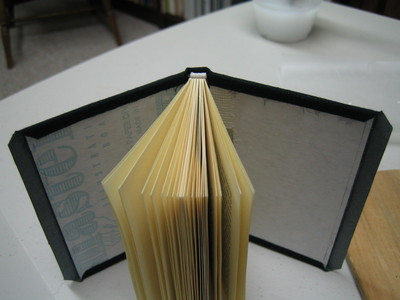
I used two bamboo shish-kebob skewers to form the French grooves along each hinge.