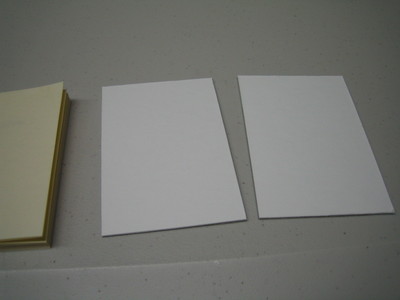
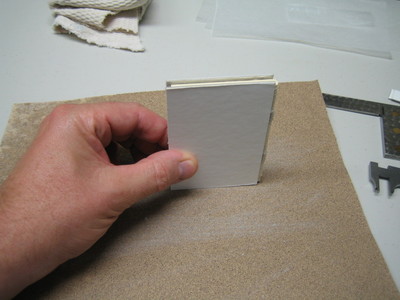
Cutting the boards
I used a piece of 1/16 inch illustration board for the cover and backbone boards. This is far from optimal because the board is coated on one side. This will cause the board to curl asymmetrically when things are glued to both sides. Since I used PVA for this project, warping was not a problem. If you are not in a hurry, it would be best to order some "grey board" designed for bookbinding. (See supplier links on the home page.)
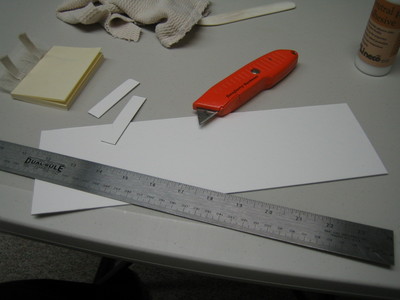
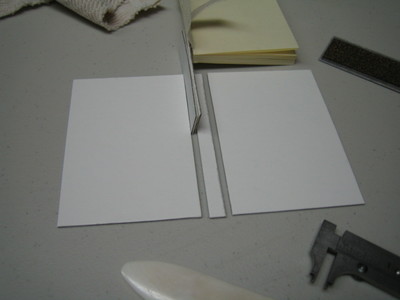
Some people use a giant version of the lever paper cutter to cut the boards. My paper cutter tends to dent the board along the cut edge. Probably because the blade is dull. I used a carpenter's square and a utility knife and got excellent results.
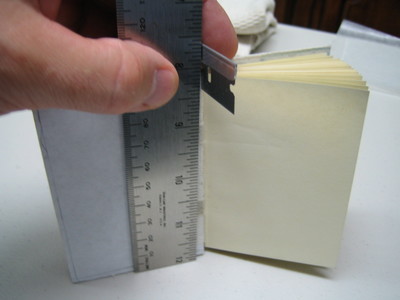
The overlap of the covers around the book block is called "the square." For a small book, about 1/8 inch looks good. A large heavy book might sag more between the boards, so a larger square would be used. A large square is also more vulnerable to dents.
The height of the cover boards is the height of the book block plus the square on the top and bottom. The width is the width of the book block plus the square and minus two board thicknesses to create the hinge.
The backbone width is the thickness of the book block plus the thickness of the front and back boards.
If you pick up a finished book and examine it, these rules will make complete sense and you won't have trouble remembering them.

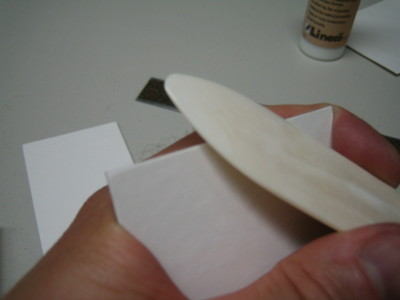
More aggressive rounding can be done with sandpaper. For this project, simply pressing with the folder made a nice radius.
Some people trim the tapes and mull after they're in place while the glue is still wet. This insures a straighter edge because the mull can shift a bit when glued down. Because PVA glue dries very fast, you must pull up the trimmed edge very quickly or it will tear off the surface layer of the board. To avoid this problem, I cut the mull and tape before gluing.
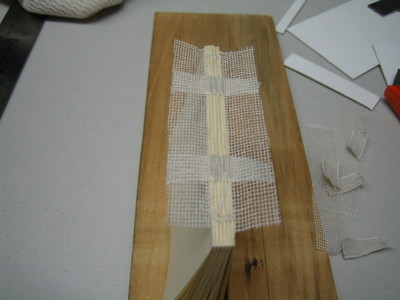
For this book, I cut the mull and tapes to stick out 1/2 inch. For a typical full-sized book, 1 inch would be about right.
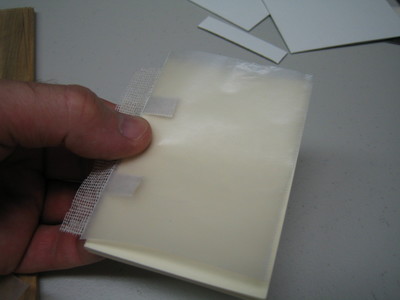
Attaching the covers requires some quick and careful moves. Read ahead and get all the necessary pieces of waxed paper, barrier sheets, and other materials ready so you don't have to search around.
Position the book block on the front cover so the square is uniform and even. Then lightly mark the location with a pencil. Repeat for the back cover.

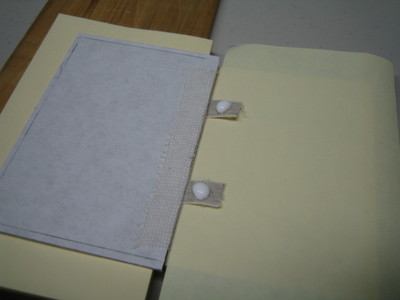
Two sheets of wax paper are used between the mull and the tape. After the glue is applied, the wax paper immediately below is discarded. The remaining sheet protects the book block when the cover board is pressed down.
After applying the glue, immediate pull off top top sheet of waxed paper. The glue is now only where it should be on the mull itself. You can gently press the mull down so it touches the lower sheet of waxed paper. This helps keep it from shifting.
Now you're ready to lay the board in place. You have to apply the board and move it outward if necessary to adjust the position. It cannot be pushed back toward the spine or up and down without rucking up the mull.
If there is any slack in the mull at the hinge, the board will be askew. If things don't seem right, pull off the mull and start over. (I hope someone can show me a better way to do this step someday.)
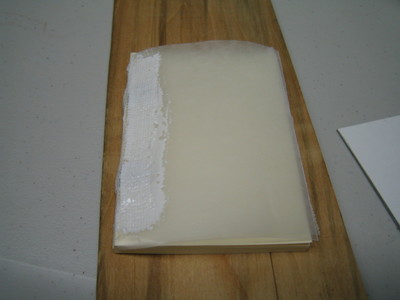
Position the board, press down and immediately open the cover onto a support the height of the book block. Rub down the mull through a sheet of waste paper.
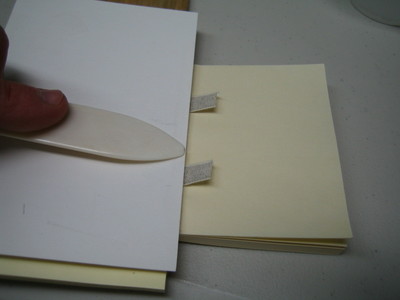

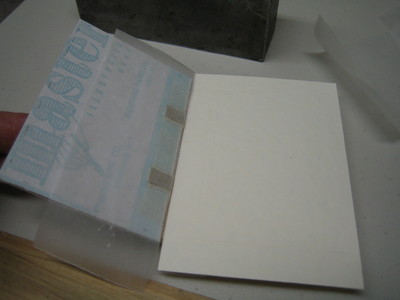
Now we can attach the tapes. Put down a barrier sheet to protect the book block. Add glue to the tapes. Shut the book, reopen, and pull away the barrier.
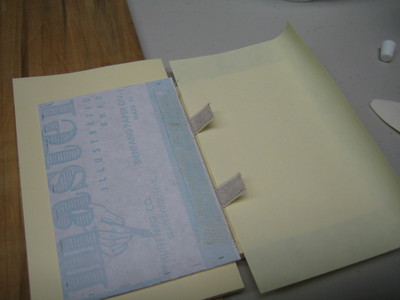
Now we need to protect the book block when we press the whole book later. Put down a thin sheet of stiff cardboard (I used water color paper) and a sheet of waxed paper. The cardbard keeps the mull and tapes from denting the book block.
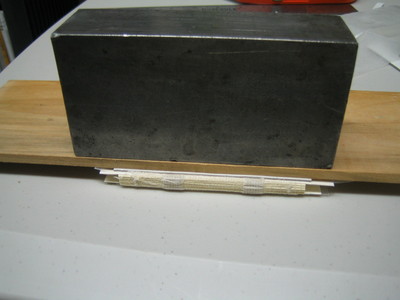
Now repeat this whole process to attach the back cover. Then put on a moderate weight and let the assembly dry for an hour (using PVA) or overnight if using paste.
After the assembly is completely dry, you can make small corrections to the square using sandpaper.
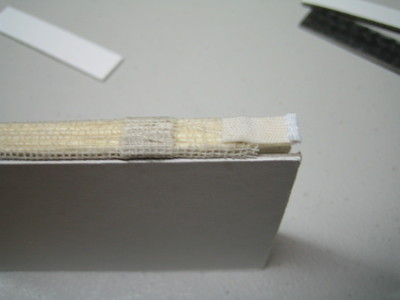
The mull is cut about 5/8" along the edge of each board on the top and bottom of the spine. This is done to make it possible to pull away the spine when gluing on the cover material.
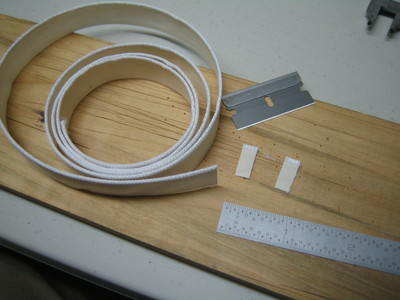
Headbands are the decorative ridge of cloth that appears near the spine of the book on the top and bottom edge. The headbands shown here are "fake" and come on a roll. Real headbanding is created by sewing loops onto the mull.