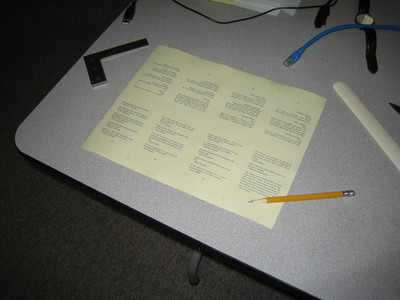
Ready to fold
When you turn a page in a book, bookbinders and printers call the thing you are turning a leaf. Each side of the leaf is called a page.
Books are made by assembling groups of leaves called signatures. A signature is created by folding a single sheet of paper in half one or more times. Each side of the sheet will have multiple pages printed in such a way that after the sheet is folded, all the pages will be right-side up and in order. This gets tricky when there are many pages per side and hence many folds. The way the pages are printed on the sheet is call an imposition.
There are a great many standard paper sizes and impositions. The publishing and binding trades have assigned them names, abbreviations and even "degrees." This nomenclature is quaint, but also somewhat archaic and confusing. If you'd like to learn how to talk about books like a pro, check out Steve Trussel's book size page.
Most treatments of bookbinding prescibe detailed rituals for folding to make sure the pages end up in the right order, but you really only need to remember two rules when working with the imposition for this (or similar) books:
There is also the issue of paper grain: It is highly desirable for the grain of the paper to be parallel to the spine of the book. The grain direction can be determined by dropping a sheet into a pan of water: it will curl around the axis of the grain. For typical laser printing paper, the grain isn't very pronounced and for miniature books made with this paper, I've gotten away with ignoring the grain. When I graduate to larger books made with better paper I'll have to design the imposition so the grain direction is correct.
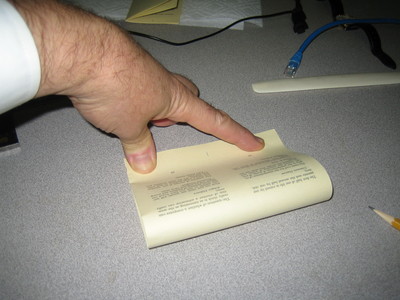
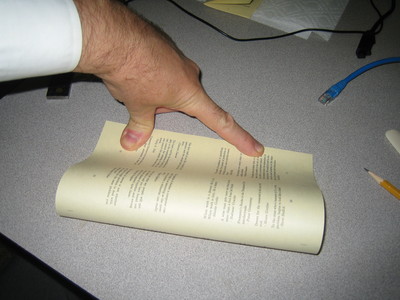
Especially with a small book, you need to take great pains to keep the folds aligned and square. Any small error will by amplified by succeeding folds. Fold the short edge over to meet the other short edge and carefully square them up. Press the mating edges firmly down on the table with one hand and start the fold gently using the other hand. Your goal is to avoid shifting the edges and/or rucking up the outer ends of the fold. Once the fold is established by hand, you can use the folder.
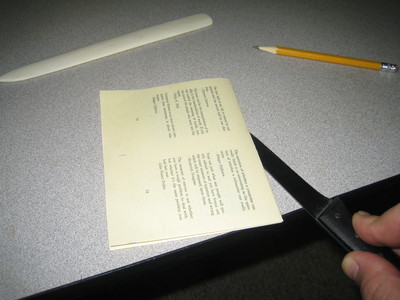
It takes a little practice to fold signatures so the text will end up square with the edges of the page. I suggest that you print a single sheet (both sides) and practice the process illustrated below. When you are finished folding, slit open the outside edges so you can open the signature normally. Check the alignment of the text on every page. The first time you try this, you will probably see the text on some pages sloping up or down. Repeat this etude until you are happy with the results.
The outer edges of the the signatures are normally not cut open until the sewing and glueing steps are completed. Then they are easy to cut all at once. Keeping them stuck together also prevents them from shifting.
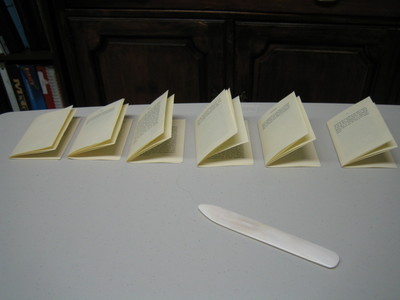
The signatures for this book are made by folding each sheet three times:
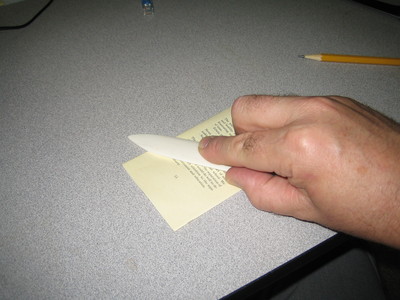
After completing each fold, it's a good idea to slit the folded edge just over half way using a thin bladed knife. This will help keep the material consumed in the folded edge from pulling the pages out of alignment. Insert the knife almost parallel to the fold and slice toward the center. I do this near the edge of the table so I can keep the blade parallel to the table top.
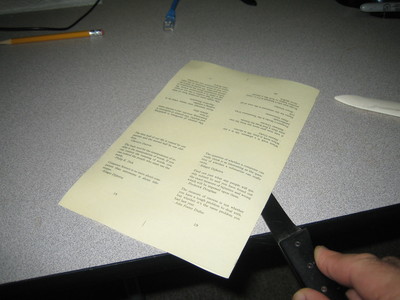
UPDATE: When making miniature books, it is better to cut the pages completely apart after each fold. I found that cutting half way introduced a slight shift that was visible in the finished book.