View into motor cabinet from front. Belt has been removed.
You may ask, "Why tear the lathe completely down into parts just to remove the ways for grinding?"
I plan to move the whole machine into my basement shop and I have a wooden stairway. My wife thought she could save herself by buying an old house with a narrow wooden stairway. Ha!In case you ever need to do such an insane thing, here are the component weights:
Headstock, casting only
Countershaft / speed changer
Carriage with motor and slides
Tailstock
Taper attachment
Leadscrew and stop rod
Spindle
Gearbox
Control levers
Carriage control box
Coolant pump
Dovetail way
Bed, casting only
Tray
Electrical box
Motor
Doors
Cabinet
Fasteners
Filth (removed)75
60
115
40
20
7
23
70
10
10
25
35
230
95
43
140
42
295
5
4How obsessive! Total: 1340 lbs I keep subtracting these weights from the estimated total of 1250, hoping to end up with nice small numbers for the bed and cabinet so I can roll them downstairs into my machine shop with a Yates appliance dolly.
Update: The actual total, nuts, bolts and everything, comes to 1340 lbs.The pictures that follow are mostly taken in my garage where the forklift unloaded the machine.
I got a lot of help from the HLVH maintenance manual, but the HLV-BK model is different in many key areas.
Another key resource for advice and especially inspiration has been Kurt Bjorn, who restored his HLV machine.
These are somewhat disorgainized notes I copied from my notebook. They are probably too detailed for anyone with common sense, but I wanted to remember the order of the steps as well as the location of some obscure fasteners.
Removing the carriage
The pulley, shown on the left in the view below, is attached to a carrier cylinder. Both have lock screws on top of set screws with long tapered ends. The lock screws have the hex hole cut all the way through. Be careful not to insert the wrench too deep so it engages the actual set screw before you have removed the lock screw on top. When the set screws are out, you should be able to slide the pulley back toward the tailstock end and lift off the belt. The gnarled hole on the right is for a pin spanner used to retain the spindle if you need to undo the front or rear ball bearing preload/retaining rings.

Pulley and carrier cylinder

Overall view of the spindle

Spindle front showing, left to right, the preload ring, two ball bearings, the spindle nose retaining ring, the spindle end with Hardinge taper.

Spindle rear showing, left to right, gearbox drive gear (it is in one piece with the ring that has the set screw hole), bearing retaining ring, rear ball bearing.

Headstock nose after spindle removal
Removing the headstock
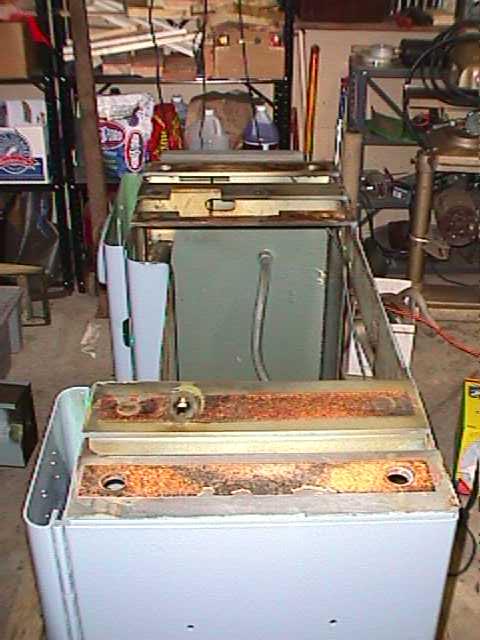
The current state of the disassembled machine.

View into the headstock from below with the counter shaft speed
control removed.
The two cap screws that hold the headstock are easy to see:

The counter shaft speed control unit comes out easily in one piece. It
weighs 60 pounds as shown.

The headstock shifted forward. The cap bolts are standing on
the way surfaces.

Closer view of dovetail under headstock front:

Dovetail segment at rear of headstock
Removing the control levers:

Bed with gearbox and levers removed

Rear view without gear box

Bed rolled over
"Give me enough two by fours and I
will move the Earth" - Greek philosopher

Underside of bed

Cap screws inside the bed

Bed with the dovetail way removed

Bed under the way at headstock end
![]()
Shim for dovetail segment and tailstock pads
![]()
Dovetail ways and shims.

Weighing the bed on the bathroom scale.
The lathe was made the year I was born and it weighs...
Disassembling the cabinet