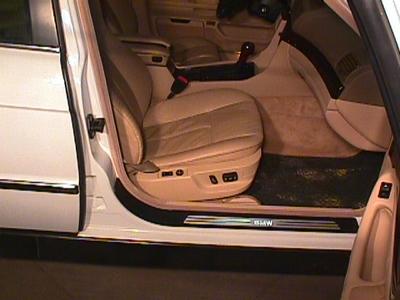
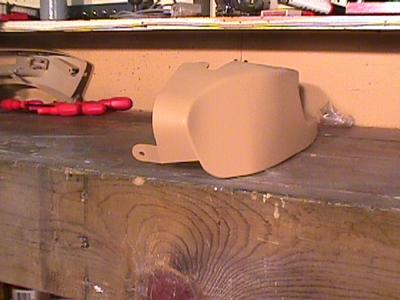
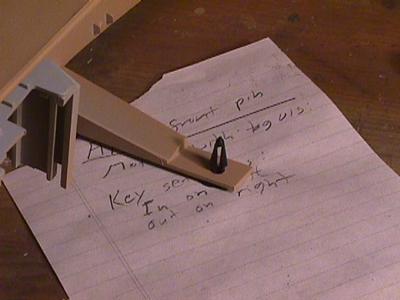
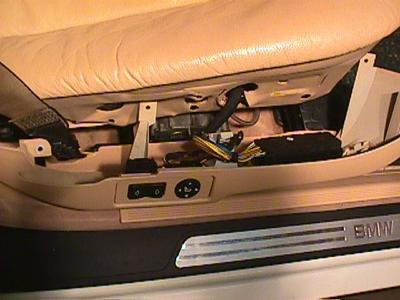
The orignal part in place
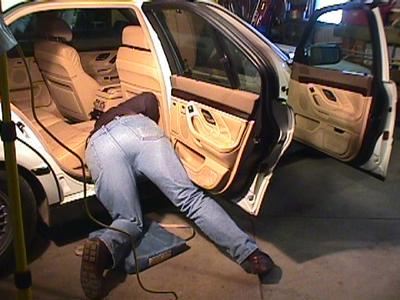
On the driver's side of the car, the plastic trim with all the electric seat controls had a big crack. The BMW dealer has a wizard on staff who can glue plastic trim and apply the original texture in such a way that the original damage is completely invisible. They fixed the crack for free when my wife discovered the problem.
After studying the service records, I discovered that the same crack had annoyed the orignal owner. Apparently, the glue-fix was cosmetic but not structurally sound. A week later, I noticed that the crack had broken open and was now a huge gap that let some of the switches drop right down into the seat.
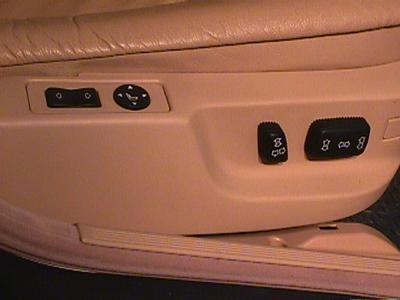
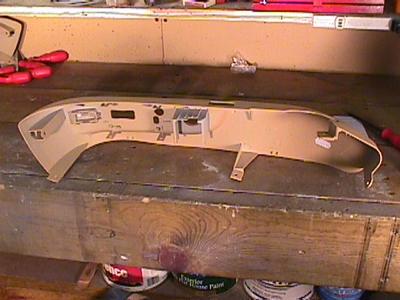
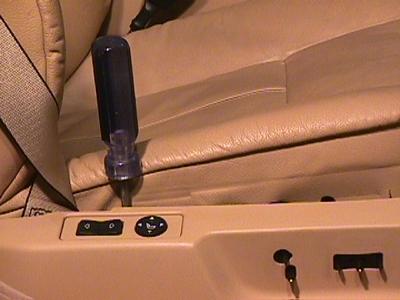
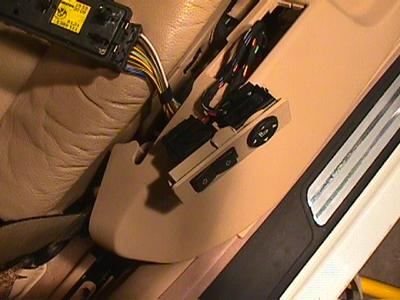
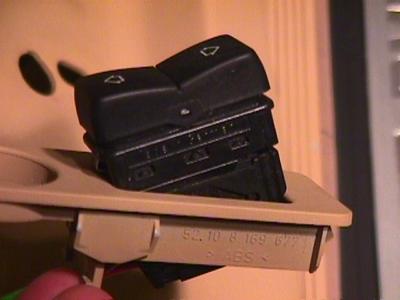
A visit to the BMW parts department revealed a puzzle: The only replacement part listed in the system did not match my part at all. The round lumbar adjustment rocker switch was on the side of the new part. On my seat, this control was located on the top edge.
A visit to the service department compounded the mystery because they insisted that 1) The original part must be used. 2) The entire seat had to be removed to conduct the repair. 3) Since the right part was unavailable, they had no further advice about how to proceed.
If I could bring them the part, they estimated 2 hours for the fix, at over $100.00 an hour.
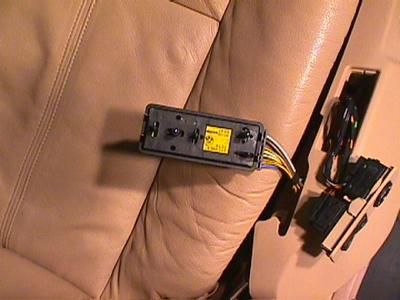
I went back to the parts department with this information. The parts guy, who turned out to be a resourceful young man, searched the computer records again. Finally, he suggested that this might be a case where BMW decided to introduce an improvement without updating the drawing in the parts book. The way the lumbar adjustment works, it did make more sense to have it on the side of the seat. He then whispered, after looking left and right, that the job could probably be done without removing the seat.
With this encouragement, I decided to buy the parts and investigate at home.
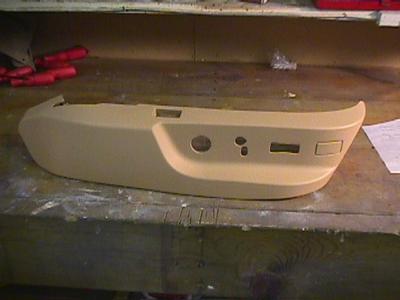
The replacement parts were a pair for the driver and passenger sides. Evidently this was done so that the two sides would match since the new version relocated the lumbar control.
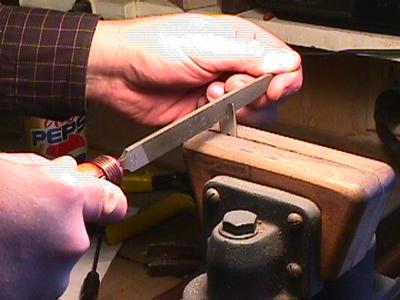
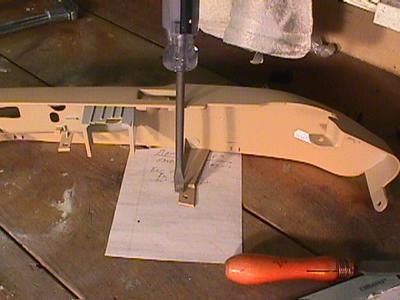
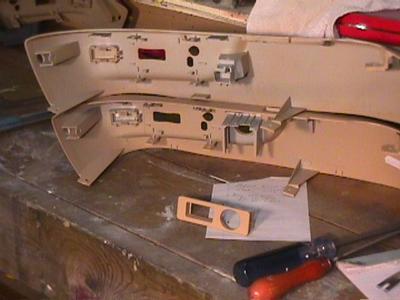
I worked on the broken driver's side first. This let me cut some corners (literally) using hammers, cold chisels, saws, and tin snips. After I saw how everything fit neatly together, I realized that the whole job could be done non-destructively in just a few minutes. I've had similar experiences rebuilding German and Swiss machine tools, much to my distress.
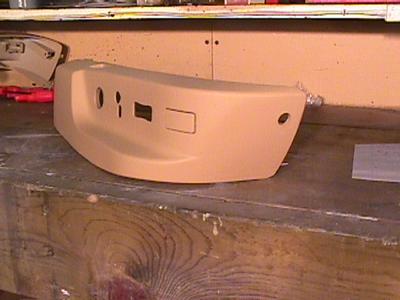
Here, I'll illustrate the more refined methods I used to replace the identical part on the passenger side.
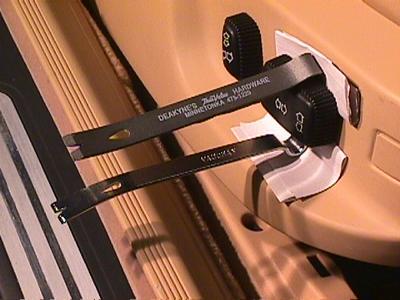
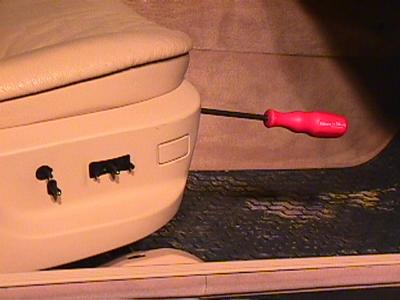
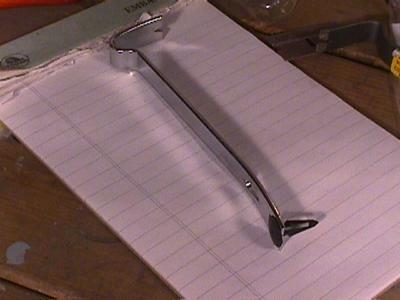
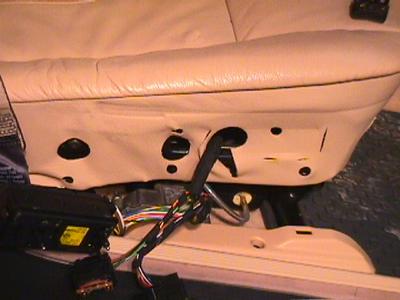
The center strut that goes under the middle of the seat is hard to reach. I was able to pop it out by pressing down near the edge with a screw driver while prying from the side with the bar. You have to raise the seat all the way up to reach this area with your hand and the space is still too tight to pry effectively with the bar.
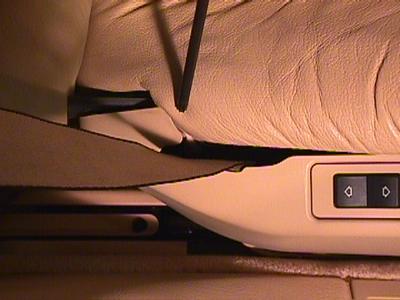
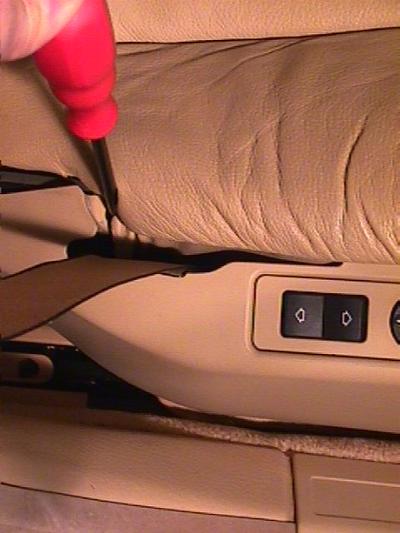
After removing the last snap, you can wiggle the trim piece away from the seat. The snaps can then be removed by pinching them from the back with pliers while prying with the bar on the outside.
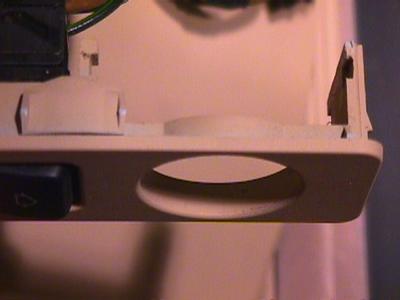
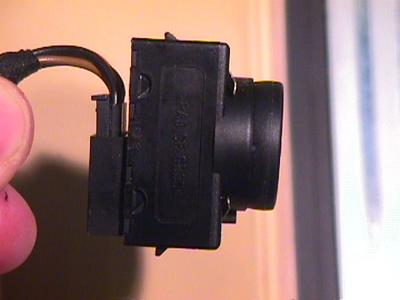
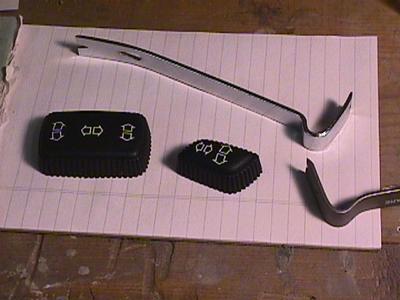
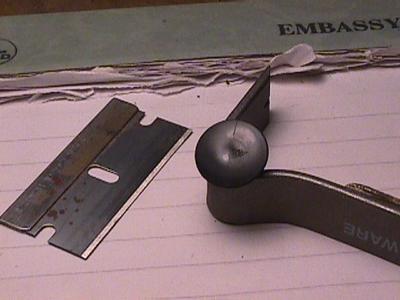
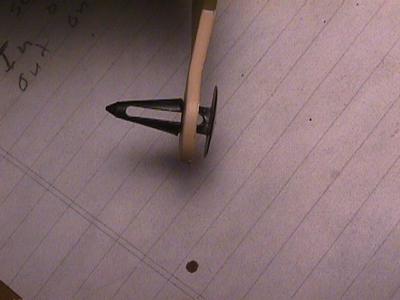
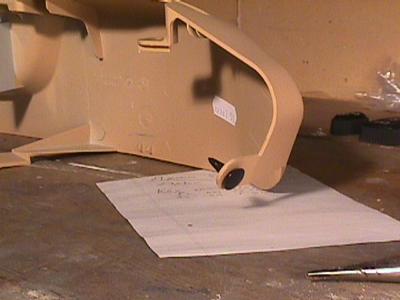
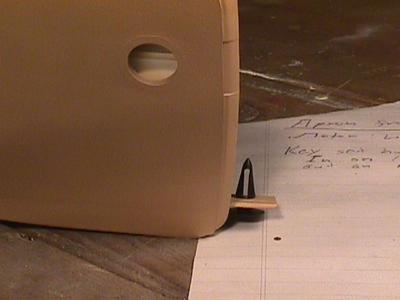
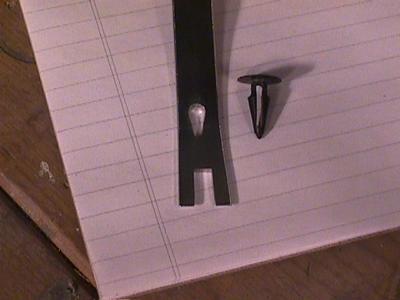
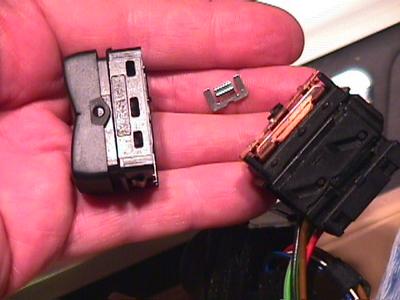
The round rocker switch is held in place by four spring loaded tabs. The switch is easy to remove if you can depress all four at once. To do this, insert four small, flat-bladed screw drivers. One in each of the four slots. The switch will then slide backwards out of the hole.
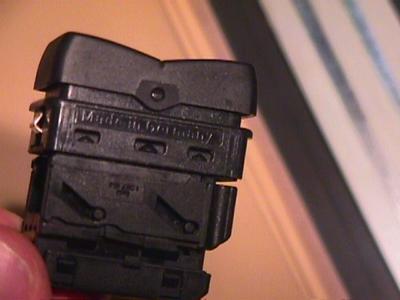
The rectangular rocker switch is held in place by two metal spring tabs. Depress them alternately and push the switch out from behind. It is still trapped by the wires. To remove the switch you must take it apart by removing the rocker assembly from the switch body. The body can then be withdrawn though the rectangular hole.
To split the switch, insert a small flat-blade screw driver in the notch provided and slide it along, prying upward gently to dislodge the tabs. Repeat on the other side. Be careful not to loose the metal retaining springs, which will fall out if the rocker part is inverted.
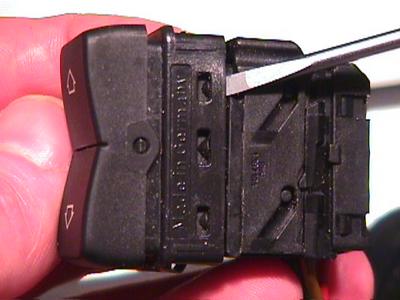
The switches all snap into place easily. Take care to insure that all four locking tabs are engaged on the large switch box and round rocker switch.
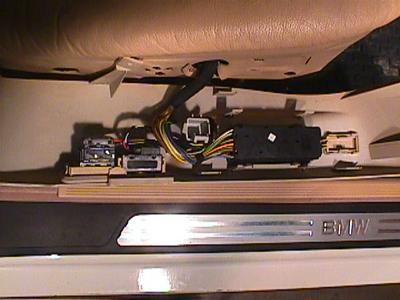
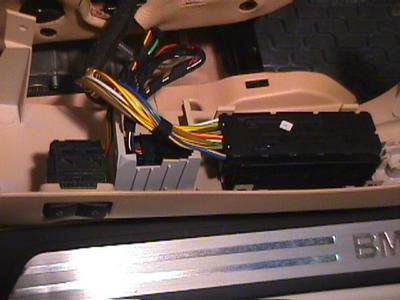
A difficult and critical step is routing the wires so they are out of the way and not in contact with any moving parts near the bottom of the seat. I was not able to photograph the solution because the panel is tight against the seat when all the wires are stuffed into the proper channels. Take care.
To attach the panel, first insert and tighten the front Torx screw. I found this easy to do by using a small flashlight to sight the metal hole in the seat through the hole in the front of the trim panel. Next, I attached the rear Torx screw. The front and rear snaps go in easily. To attach the snap from below on the center strut, raise the seat all the way. You can then reach the strut from the side with one hand. You can see the center strut clearly from the front by looking under the seat with a flashlight.
(I think it will take you 30 minutes. I spent a lot more time fussing with the camera and lamps.)