Joining the first and second signatures
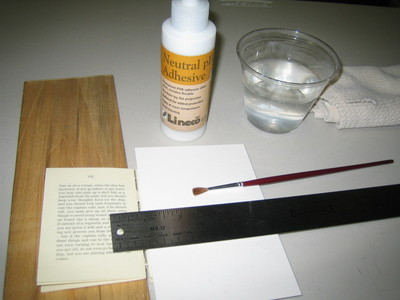
The first and last pair of signatures are glued together along a narrow band. For a normal-sized book, this band would be around 2mm. For this example, I used 1.5mm. A barrier sheet is used to cover all but the area where glue is applied.
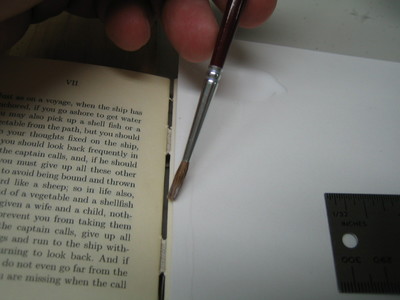
Apply a very thin band of glue along the exposed area. When the block is pressed, you don't want any of this glue to spread inward.
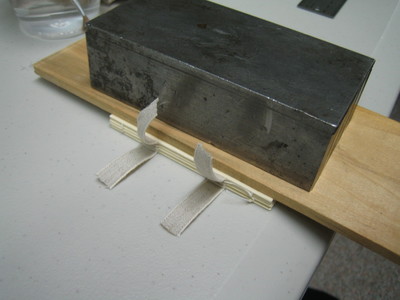
Discard the barrier and close the book - being careful to keep the joined signatures aligned. If you're using PVA, it is best press the block for a minute or two right away.
Repeat the procedure to join last two signatures. Then put the book under weights to dry. Using PVA glue, this takes only 5 minutes.
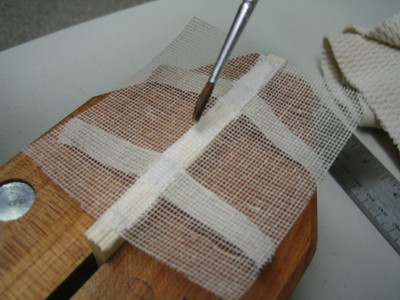
The mull is a strip of cloth that binds the signatures together and makes a flexible back so the book will open. It overlaps the spine to create a hinge that attaches the book block to the case: the covers and backbone.
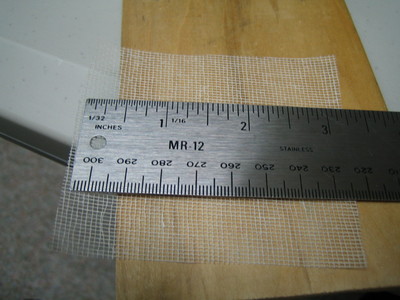
The mull is made from a thin, open-weave linen fabric treated with a stiff starch or sizing. It looks like cheese cloth. I was only able to buy it in a whole roll that will provide me with a convenient lifetime supply.
The mull should be cut to height so that it covers the kettle stitches, but not the entire back. leave about an inch sticking out on each side of the back. You can trim it later.
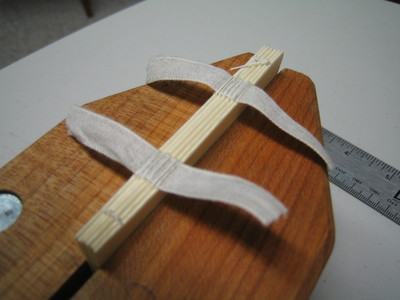
Clamp the book with 1/2 inch exposed above the press. Because the signatures have wide rounded ends, they will touch near the edge. Brush glue along the back of the book and press the mull in place. Apply a little more glue and work it through the mull, but only where it touches the edge. Everything should have a visible coat of glue, but too much will make the spine stiff.